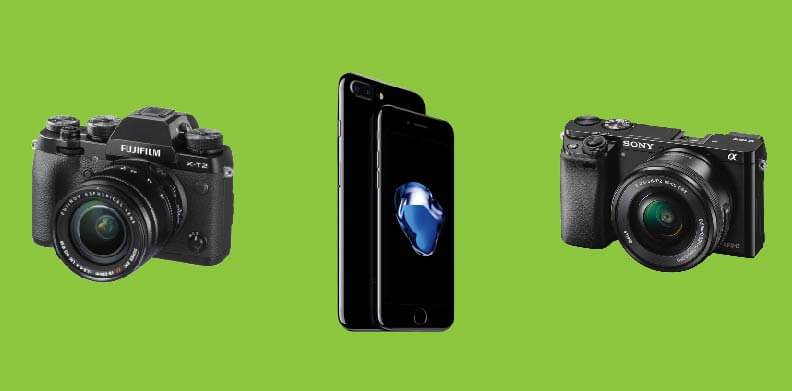
“It’s not the camera, it’s the photographer,” says the photographer with $10k worth of camera equipment. Are they right?
No. Of course you need a certain amount of training to use the equipment properly, but a pro-level DSLR (like the Fujifilm XT-2, see below) used by a well-educated photographer will always out-pace much cheaper cameras (like the one in your smartphone) regardless of training. Still, you can capture photos on your smartphone that most people would deem “professional.” They are great for action photography and are compatible with social networks like Instagram and VSCO (so you can share your work). Below we’ll go over how to take better pictures with your smartphone and some vocabulary that you can use to impress your friends.
How to Take Better Pictures: Fundamentals

Fundamental I | Exposure
Exposure is determined by two elements: the intensity of light that passes through the lens and the time that the sensor is exposed to the light (The Filmmakers Handbook). Your smartphone automatically analyzes each situation and makes the kind of adjustments that a trained photographer would enter manually. While it is efficient, certain situations will confuse your little camera. You’ve probably seen this before if you’ve ever taken a photo on an especially bright day and found that you can’t actually see the people in the picture. To change the exposure manually, place your finger on the portion of the screen occupied by your subject.

Fundamental II | Composition
There are “rules” for composition, or the relative placement of objects in a photograph, but we’re going to focus on the rule of thirds in this post. This principle breaks the image into 9 parts (see below). You should place the most interesting parts of the picture on the grids intersection points. If you’re shooting a portrait, close-up then you may consider putting the eye that is furthest from the camera on one of the top right (or top left) cross sections.

Fundamental III | White Balance
If you’ve ever taken a photo of yourself and gone, “my skin isn’t that color…” you probably had a white balance problem. An improperly white balanced photo may make white objects seem a little yellow (or a little blue), which can throw off the color accuracy of your picture.
With smartphone photography you will have to set white-balance after you take your picture, unless you have an app like Manual that allows you to set a manual white-balance. We recommend downloading Adobe Lightroom from the App Store. There you can select the white balance button, press ”auto” and Lightroom will make the necessary adjustments for you.
“Your first 10,000 photographs are your worst.” – Henry Cartier-Bresson
Even the best photographers don’t get the perfect shot on their first attempt. You may use 1-in-10, 1-in-20, maybe 1-in-100 (if you’re a perfectionist), but the more you take, the greater your chances are of capturing a professional picture.


